Bydly Insights
Explore the latest news, trends, and insights across various topics.
Snap Happy: Capturing Products in Their Best Light
Unlock the secrets to stunning product photography that sells! Discover tips to make your products shine like never before.
5 Essential Tips for Photographing Your Products Like a Pro
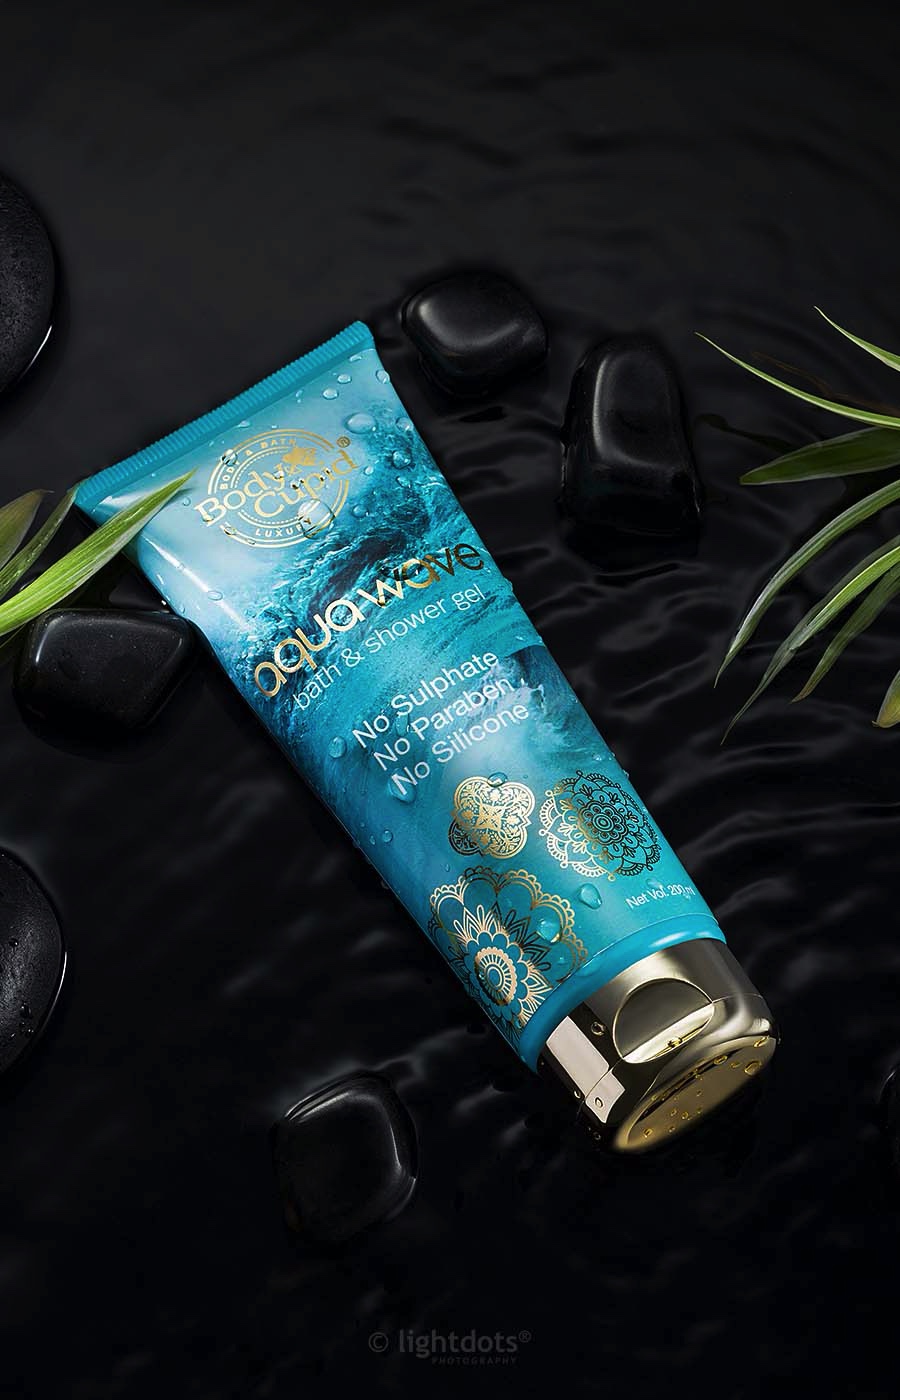
Product photography is a vital part of showcasing your items effectively. Here are 5 essential tips to help you photograph your products like a pro. First, invest in a good quality camera and a sturdy tripod. A quality camera doesn’t have to be expensive; even many smartphones come with impressive cameras. Using a tripod ensures stability, preventing camera shake and allowing for clearer images. Second, pay close attention to the lighting. Natural light is often the best choice; take your photos near a window during the day. If you must shoot indoors, consider using softbox lights to create an even and flattering illumination.
Next, consider the background you use for your product photos. A clean, uncluttered background helps emphasize your products, allowing them to stand out. You can choose white, black, or grey backdrops, or even use textured surfaces like wood or fabric for a more unique look. Fourth, style your products in an aesthetically pleasing way. Use props that complement your items but don’t overwhelm them. Finally, don’t forget to edit your photos afterwards. Utilize photo editing software to adjust brightness, contrast, and sharpness, ensuring the final image reflects your products in the best light possible.

How to Use Natural Light for Stunning Product Photography
Utilizing natural light for product photography can significantly enhance the quality of your images, giving them a vibrant and authentic look. To achieve this, begin by selecting the right time of day. The best lighting conditions typically occur during the 'golden hour,' which is shortly after sunrise or before sunset. This soft, diffused light minimizes harsh shadows and creates a warm atmosphere. Position your product near a window or an open door, allowing the sunlight to illuminate it evenly. Experiment with different angles to find the most flattering light that highlights the product’s features.
In addition to the right timing, consider the use of reflectors to bounce light onto your product for enhanced detail. You don’t need expensive equipment; simple materials like white cardboard or aluminum foil can work wonders. Make sure to avoid direct sunlight, as it can create unwanted glare and overexposure. Remember to take test shots to adjust your setup accordingly. By mastering the art of using natural light, you can create stunning product images that captivate your audience and boost your online presence.
The Best Angles to Showcase Your Products: A Beginner's Guide
When it comes to showcasing your products, choosing the right angle can make all the difference in capturing your audience's attention. The best angles to showcase your products often include the 45-degree angle, which offers a dynamic view that highlights both the front and sides. This angle allows potential customers to see not only the product's features but also its dimensions, giving them a better understanding of what they are purchasing. Additionally, consider the straight-on shot for items that rely heavily on visual appeal, as this angle provides a clear view that can accentuate colors and details.
Another angle to consider is the overhead shot, which can offer a unique perspective, particularly for food or multi-item displays. By capturing your products from above, you can showcase their arrangement and design aesthetics compellingly. It's also essential to pay attention to lighting and background in all these angles; good lighting can enhance the product's features and help prevent shadows that can obscure details. Experiment with different angles and find the ones that best showcase your products, ultimately making your visuals more engaging and effective in converting visitors into customers.